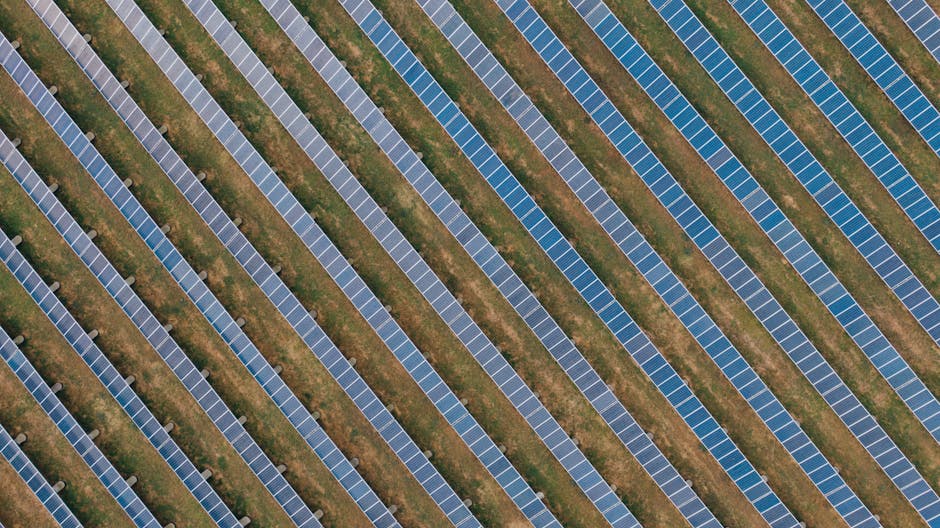
Solar Panel Kit For Van Conversion
Are you dreaming of hitting the open road in your van, exploring new places, and living life on your own terms? If so, a solar panel kit for van conversion might be just what you need to power your adventures. With the right solar setup, you can enjoy the freedom of off-grid living while keeping your devices charged and your lights on. In this article, we’ll explore everything you need to know about solar panel kits for van conversions, from the basics to installation tips and beyond. Let’s dive in!
Understanding Solar Power for Your Van
Before we get into the specifics of solar panel kits, it’s essential to understand how solar power works and why it’s a great choice for van conversions.
What is Solar Power?
Solar power is energy harnessed from the sun using solar panels. These panels convert sunlight into electricity, which can be used to power various devices and appliances in your van. Here are some key benefits of using solar power:
- Renewable Energy: Solar power is a clean and renewable energy source, meaning it won’t run out as long as the sun is shining.
- Cost-Effective: Once you invest in a solar panel kit, you can save money on fuel and electricity costs in the long run.
- Off-Grid Living: Solar panels allow you to live off the grid, giving you the freedom to camp in remote locations without worrying about power sources.
Why Choose a Solar Panel Kit for Your Van?
A solar panel kit is a convenient way to set up solar power in your van. Here are some reasons to consider a solar panel kit:
- All-in-One Solution: Kits typically include everything you need, such as solar panels, charge controllers, batteries, and wiring.
- Easy Installation: Many kits are designed for DIY installation, making it accessible even for those with limited technical skills.
- Scalability: You can start with a basic kit and expand your system as your needs grow.
Choosing the Right Solar Panel Kit
When selecting a solar panel kit for your van conversion, there are several factors to consider. Let’s break them down.
1. Power Needs
First, assess your power needs. Consider what devices you plan to use and how much energy they require. Common devices include:
- Lights
- Refrigerators
- Chargers for phones and laptops
- Water pumps
Calculate the total wattage you’ll need to determine the size of the solar panel kit that’s right for you.
2. Solar Panel Types
There are different types of solar panels available, each with its pros and cons:
- Monocrystalline Panels: Highly efficient and space-saving, but usually more expensive.
- Polycrystalline Panels: More affordable but slightly less efficient than monocrystalline panels.
- Thin-Film Panels: Lightweight and flexible, but generally less efficient and require more space.
3. Battery Storage
Battery storage is crucial for storing the energy generated by your solar panels. Consider the following:
- Type of Battery: Lithium-ion batteries are lightweight and have a longer lifespan, while lead-acid batteries are more affordable but heavier.
- Capacity: Choose a battery with enough capacity to store the energy you need for your devices.
4. Charge Controller
A charge controller regulates the voltage and current coming from the solar panels to the batteries. It prevents overcharging and extends battery life. Look for a kit that includes a quality charge controller.
Installing Your Solar Panel Kit
Once you’ve chosen the right solar panel kit, it’s time to install it in your van. Here’s a step-by-step guide to help you through the process.
Step 1: Gather Your Tools
Before you start, make sure you have the necessary tools:
- Drill
- Screwdriver
- Wrenches
- Wire cutters/strippers
- Safety goggles
Step 2: Plan Your Layout
Decide where you want to install the solar panels on your van’s roof. Ensure there’s enough space and that the panels will receive maximum sunlight exposure.
Step 3: Install the Solar Panels
Follow the manufacturer’s instructions to mount the solar panels securely. Use brackets or adhesive mounts as recommended.
Step 4: Connect the Charge Controller
Install the charge controller inside your van, close to the battery. Connect the solar panels to the charge controller using the provided wiring.
Step 5: Connect the Batteries
Connect the batteries to the charge controller, ensuring all connections are secure. Follow the wiring diagram provided in your kit.
Step 6: Test the System
Once everything is connected, test the system to ensure it’s working correctly. Check the charge controller for any error messages and monitor the battery levels.
Maintaining Your Solar Panel System
To keep your solar panel system running efficiently, regular maintenance is essential. Here are some tips:
- Clean the Panels: Dust and debris can reduce efficiency. Clean your solar panels regularly with a soft cloth and mild soap.
- Check Connections: Periodically inspect all connections for signs of wear or corrosion.
- Monitor Battery Health: Keep an eye on battery levels and performance. Replace batteries as needed.
Conclusion
A solar panel kit for van conversion is a fantastic investment for anyone looking to embrace the van life. With the right setup, you can enjoy the freedom of off-grid living while keeping your devices powered and your adventures going strong. By understanding your power needs, choosing the right components, and following proper installation and maintenance procedures, you’ll be well on your way to a successful solar-powered van conversion. So, gear up, hit the road


