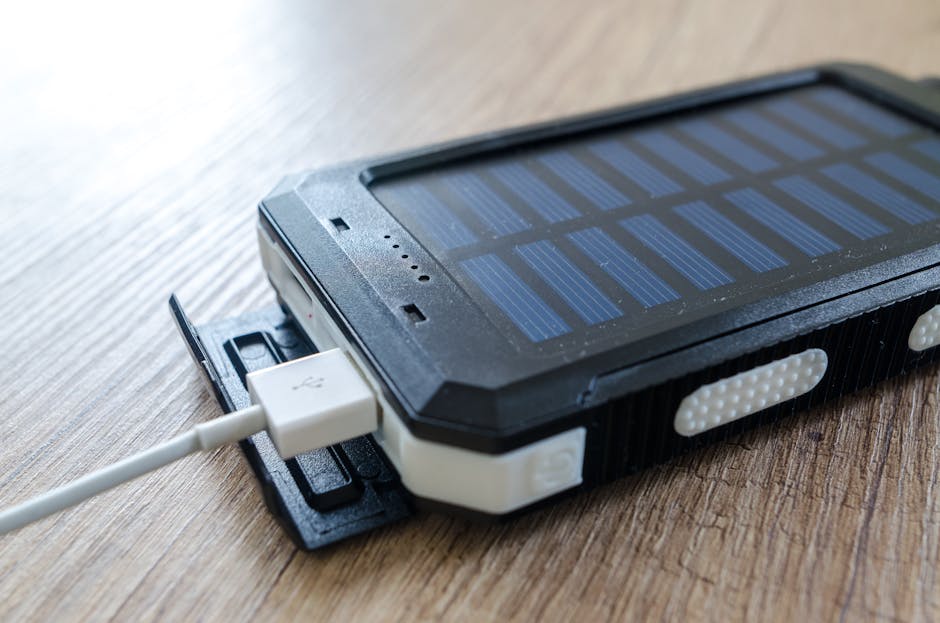
Ring Doorbell 4 Solar Charger Installation
The Ring Doorbell 4 is a fantastic addition to any home security system, providing peace of mind with its advanced features. However, to ensure it operates efficiently, you might want to consider installing a solar charger. This guide will walk you through the installation process, making it easy for anyone to follow along. Let’s dive into the details!
Why Choose a Solar Charger for Your Ring Doorbell 4?
Before we get into the installation process, let’s discuss why a solar charger is a great choice for your Ring Doorbell 4.
- Continuous Power Supply: A solar charger provides a constant power source, reducing the need for frequent battery changes.
- Eco-Friendly: Harnessing solar energy is a sustainable option that helps reduce your carbon footprint.
- Cost-Effective: While there’s an initial investment, it saves you money in the long run by eliminating battery purchases.
- Convenience: You won’t have to worry about your doorbell dying unexpectedly, ensuring your home remains secure.
What You’ll Need for Installation
Before you start the installation process, gather the necessary tools and materials. Here’s a quick checklist:
- Ring Doorbell 4
- Ring Solar Charger
- Drill with drill bits
- Screwdriver
- Level
- Tape measure
- Marker or pencil
- Safety goggles
Step-by-Step Installation Guide
Now that you have everything ready, let’s go through the installation process step by step.
Step 1: Choose the Right Location
The first step is to find the perfect spot for your solar charger. Here are some tips:
- Ensure it receives direct sunlight for most of the day.
- Avoid shaded areas from trees, buildings, or other obstructions.
- Consider the angle of the sun throughout the year to maximize exposure.
Step 2: Prepare the Mounting Surface
Once you’ve chosen a location, prepare the surface where you’ll mount the solar charger. Make sure it’s clean and free of debris.
Step 3: Mark the Drill Holes
Using your tape measure and marker, mark where you’ll drill the holes for the mounting bracket. Ensure the marks are level to avoid a crooked installation.
Step 4: Drill the Holes
Put on your safety goggles and drill the holes at the marked spots. Make sure to use the appropriate drill bit size for the screws provided with your solar charger.
Step 5: Attach the Mounting Bracket
Using the screws provided, attach the mounting bracket to the wall. Ensure it’s secure and level before proceeding.
Step 6: Connect the Solar Charger
Now it’s time to connect the solar charger to your Ring Doorbell 4. Follow these steps:
- Locate the charging port on your Ring Doorbell 4.
- Plug the solar charger’s connector into the charging port.
- Ensure the connection is snug and secure.
Step 7: Mount the Solar Charger
With the connection made, it’s time to mount the solar charger onto the bracket. Align it properly and press it into place until you hear a click, indicating it’s securely attached.
Step 8: Test the Setup
After installation, it’s crucial to test the setup:
- Check the Ring app to ensure it recognizes the solar charger.
- Monitor the battery level over the next few days to confirm it’s charging properly.
Tips for Optimal Performance
To ensure your solar charger works efficiently, consider these tips:
- Regular Cleaning: Dust and debris can block sunlight. Clean the solar panel regularly with a soft cloth.
- Seasonal Adjustments: If you notice reduced performance in winter, consider adjusting the angle of the solar panel if possible.
- Monitor Battery Levels: Keep an eye on your Ring app for battery status updates.
Troubleshooting Common Issues
If you encounter any issues with your solar charger, here are some common problems and solutions:
- Not Charging: Ensure the solar panel is receiving adequate sunlight and check the connections.
- Battery Draining Quickly: Check for any software updates for your Ring Doorbell 4 and ensure it’s not in a high-traffic area that may cause excessive use.
- Connection Issues: If the solar charger isn’t recognized, try unplugging and re-plugging the connector.
Conclusion
Installing a solar charger for your Ring Doorbell 4 is a straightforward process that can significantly enhance your home security system. With continuous power, you can enjoy peace of mind knowing your doorbell is always ready to go. By following this guide, you’ll have your solar charger up and running in no time!
FAQs
Can I use any solar charger with my Ring Doorbell 4?
No, it’s best to use the official Ring Solar Charger designed specifically for the Ring Doorbell 4 to ensure compatibility and optimal performance.
How long does it take to charge the Ring Doorbell 4 with the solar charger?
The charging time can vary based on sunlight exposure, but typically, it can take a few hours of direct sunlight to fully charge the battery.
What if my solar charger isn’t working?
If your solar charger isn’t functioning, check the connections, ensure it’s receiving sunlight, and consult the Ring support website for troubleshooting tips.
Is the solar charger weatherproof?
Yes, the Ring Solar Charger is designed to withstand various weather conditions, making it suitable for outdoor use.
By following this guide, you can ensure that your Ring Doorbell 4 remains powered and ready to protect your home. Enjoy the convenience and security


