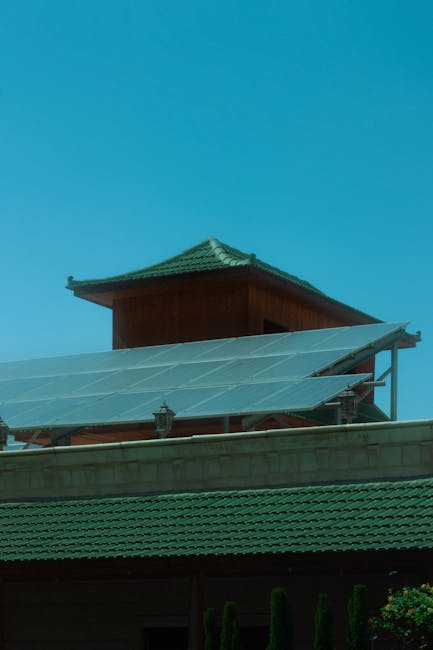
Mounting Solar Panels To Roof Rack
Solar energy is becoming increasingly popular as a clean and renewable energy source. For those who love to travel or live in a van, mounting solar panels to a roof rack can be a game-changer. It allows you to harness the sun’s power while on the go, providing electricity for your devices, lights, and appliances. In this article, we will explore the steps, tips, and considerations for successfully mounting solar panels to a roof rack. Let’s dive in!
Understanding Solar Panels and Roof Racks
Before we get into the nitty-gritty of mounting solar panels, it’s essential to understand the components involved.
What Are Solar Panels?
Solar panels are devices that convert sunlight into electricity. They are made up of photovoltaic (PV) cells that generate power when exposed to sunlight. Here are some key points about solar panels:
- Types: There are mainly three types of solar panels: monocrystalline, polycrystalline, and thin-film.
- Efficiency: Monocrystalline panels are generally the most efficient, while thin-film panels are the least efficient but lighter.
- Size: Solar panels come in various sizes, so it’s crucial to choose ones that fit your roof rack.
What Is a Roof Rack?
A roof rack is a framework mounted on the roof of a vehicle, designed to carry various loads, including luggage, bikes, and solar panels. Here’s what you need to know:
- Types: Roof racks can be permanent or removable, and they come in different styles, such as crossbars or platform racks.
- Weight Capacity: Always check the weight limit of your roof rack to ensure it can support the solar panels.
- Compatibility: Make sure your roof rack is compatible with the solar panel mounting system you choose.
Choosing the Right Solar Panels
Not all solar panels are created equal, and selecting the right ones for your roof rack is crucial. Here are some factors to consider:
Power Needs
Determine how much power you need based on your devices and appliances. Here’s how to calculate:
- List all devices you plan to power.
- Check the wattage of each device.
- Add up the total wattage to find your power needs.
Size and Weight
Measure your roof rack to ensure the solar panels will fit. Consider the weight of the panels as well:
- Choose lightweight panels if you have a smaller vehicle.
- Ensure the total weight does not exceed your roof rack’s capacity.
Durability and Weather Resistance
Since solar panels will be exposed to the elements, look for panels that are durable and weather-resistant. Features to look for include:
- Tempered glass for impact resistance.
- Corrosion-resistant frames.
- Waterproofing to prevent damage from rain or snow.
Gathering Necessary Tools and Materials
Before you start mounting your solar panels, gather all the necessary tools and materials. Here’s a checklist:
- Solar panels
- Mounting brackets
- Roof rack
- Drill and drill bits
- Screws and bolts
- Sealant or silicone
- Wrench and screwdriver
- Measuring tape
- Safety goggles and gloves
Steps to Mount Solar Panels to Roof Rack
Now that you have everything ready, let’s go through the steps to mount your solar panels securely.
Step 1: Measure and Plan
Start by measuring the dimensions of your roof rack and the solar panels. Here’s what to do:
- Determine the best layout for the solar panels on the roof rack.
- Leave space for airflow to prevent overheating.
- Mark the positions where the mounting brackets will go.
Step 2: Install Mounting Brackets
Next, install the mounting brackets that will hold the solar panels in place:
- Use a drill to create holes for the brackets based on your markings.
- Secure the brackets with screws and bolts, ensuring they are tight and stable.
- Apply sealant around the holes to prevent water leaks.
Step 3: Attach Solar Panels
Once the brackets are in place, it’s time to attach the solar panels:
- Carefully lift the solar panels onto the brackets.
- Align the panels with the mounting holes on the brackets.
- Secure the panels using screws or bolts, ensuring they are tightly fastened.
Step 4: Connect Wiring
After mounting the panels, you’ll need to connect the wiring:
- Follow the manufacturer’s instructions for wiring the solar panels.
- Connect the panels to a charge controller, which regulates the power going to your batteries.
- Ensure all connections are secure and weatherproofed.
Step 5: Test the System
Before hitting the road, it’s essential to test your solar panel system:
- Check the voltage output from the solar panels.
- Ensure the charge controller is functioning correctly.
- Monitor the system for a few days to ensure everything is working smoothly.
Safety Considerations
When mounting solar panels, safety should always be a priority. Here are some tips to keep in mind:
- Wear safety goggles and gloves while working with tools.
- Ensure the vehicle is parked on a flat surface to prevent accidents.
- Have a friend assist you when lifting heavy solar panels.
Maintenance Tips for Solar Panels
To ensure your solar panels continue to function efficiently,


