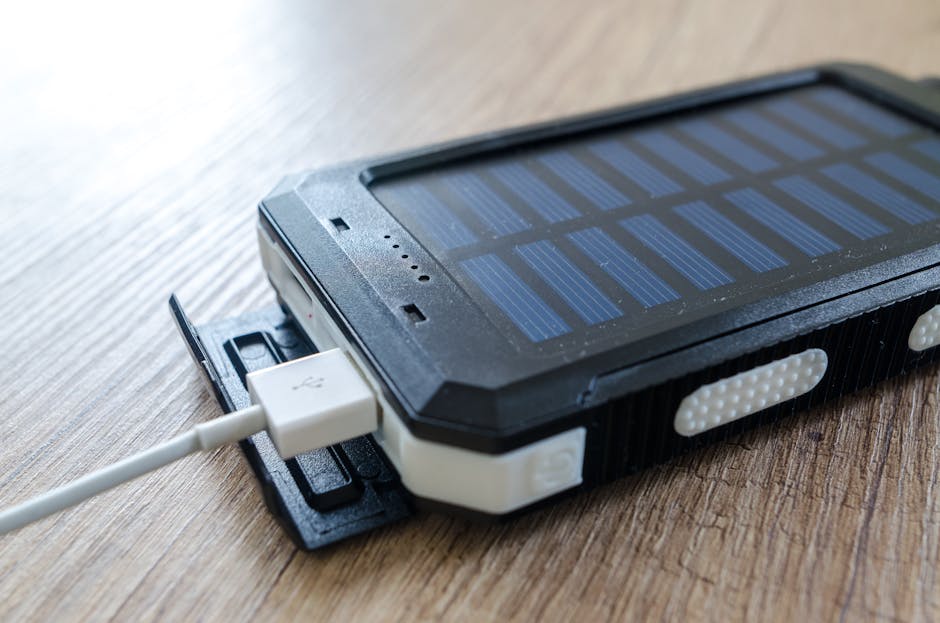
Arlo Solar Panel Charger Pro 2
The Arlo Solar Panel Charger Pro 2 is a game-changer for anyone looking to keep their Arlo security cameras powered without the hassle of frequent battery changes. This innovative solar panel charger harnesses the power of the sun, providing a continuous energy source for your devices. In this article, we will explore the features, benefits, installation process, and maintenance tips for the Arlo Solar Panel Charger Pro 2, ensuring you get the most out of this fantastic accessory.
Understanding the Arlo Solar Panel Charger Pro 2
The Arlo Solar Panel Charger Pro 2 is designed specifically for Arlo’s line of security cameras, including the Arlo Pro 2, Pro 3, and Ultra models. This solar panel is an eco-friendly solution that eliminates the need for constant battery replacements, making it a convenient choice for homeowners and renters alike.
Key Features
- Solar-Powered: The panel converts sunlight into energy, ensuring your camera remains charged throughout the day.
- Weather-Resistant: Built to withstand various weather conditions, the solar panel is durable and reliable.
- Easy Installation: The panel comes with all necessary mounting hardware, making setup a breeze.
- Adjustable Angle: You can adjust the angle of the solar panel to maximize sunlight exposure.
- Compatible with Multiple Models: Works seamlessly with various Arlo camera models, providing versatility.
Benefits of Using the Arlo Solar Panel Charger Pro 2
Investing in the Arlo Solar Panel Charger Pro 2 comes with numerous advantages that enhance your security camera experience.
1. Continuous Power Supply
One of the most significant benefits is the continuous power supply. With the solar panel, you no longer have to worry about your camera running out of battery, especially during critical times when security is paramount.
2. Cost-Effective
While there is an initial investment in the solar panel, it saves you money in the long run by reducing the need for battery replacements. This is especially beneficial for those with multiple cameras.
3. Eco-Friendly Solution
Using solar energy is a sustainable choice that reduces your carbon footprint. By harnessing the sun’s power, you contribute to a greener planet.
4. Enhanced Security
With a reliable power source, your security cameras can operate continuously, providing peace of mind and ensuring that you capture every moment.
Installation Process
Installing the Arlo Solar Panel Charger Pro 2 is straightforward and can be done in just a few steps. Here’s how to do it:
Step 1: Gather Your Tools
Before you start, make sure you have the following tools:
- Drill
- Screwdriver
- Level
- Measuring tape
Step 2: Choose the Right Location
Select a location that receives ample sunlight throughout the day. Avoid areas with obstructions like trees or buildings that may cast shadows on the panel.
Step 3: Mount the Solar Panel
Using the provided mounting hardware, attach the solar panel to the chosen location. Ensure it is securely fastened and at an angle that maximizes sun exposure.
Step 4: Connect to Your Camera
Once the panel is mounted, connect it to your Arlo camera using the included cable. Make sure the connection is secure to ensure optimal performance.
Step 5: Test the Setup
After installation, check the camera to ensure it is receiving power from the solar panel. You can do this by accessing the Arlo app and checking the battery status.
Maintenance Tips for Your Solar Panel Charger
To ensure your Arlo Solar Panel Charger Pro 2 continues to function effectively, regular maintenance is essential. Here are some tips:
1. Clean the Panel Regularly
Dust, dirt, and debris can accumulate on the solar panel, reducing its efficiency. Clean the surface with a soft cloth or sponge and mild soap to keep it clear.
2. Check for Obstructions
Periodically inspect the area around the solar panel for any new obstructions that may block sunlight. Trim back any branches or foliage that may grow over time.
3. Inspect Connections
Ensure that the connections between the solar panel and the camera are secure. Loose connections can lead to power loss.
4. Monitor Performance
Keep an eye on the battery status in the Arlo app. If you notice a decline in performance, it may be time to clean the panel or adjust its position.
Common Questions About the Arlo Solar Panel Charger Pro 2
1. How much sunlight does the solar panel need to work effectively?
The Arlo Solar Panel Charger Pro 2 works best with direct sunlight for several hours a day. Ideally, it should receive at least 4-6 hours of sunlight daily for optimal performance.
2. Can I use the solar panel indoors?
No, the solar panel is designed for outdoor use. It needs direct sunlight to charge effectively, which is not possible indoors.
3. What happens if it’s cloudy or rainy?
While cloudy or rainy days may reduce the solar panel’s efficiency, it will still generate some power. However, prolonged periods of low sunlight may require you to check the battery status more frequently.
4. Is the solar panel waterproof?
Yes, the Arlo Solar Panel Charger Pro 2 is weather-resistant and can withstand rain and snow. However, it’s essential to ensure that the connections are properly sealed to prevent water damage.
Conclusion
The Arlo Solar Panel Charger Pro 2 is an excellent investment for anyone looking to enhance their home security system. With its eco-friendly design, continuous power supply, and easy installation, it provides a hassle-free solution to keeping your Arlo cameras charged and ready to go. By following the maintenance tips outlined in this article, you can ensure that your solar panel remains in top condition, allowing you to enjoy peace of mind knowing your home is always monitored.
Whether you’re a new Arlo user or looking to upgrade your existing setup, the Solar Panel Charger Pro 2 is


