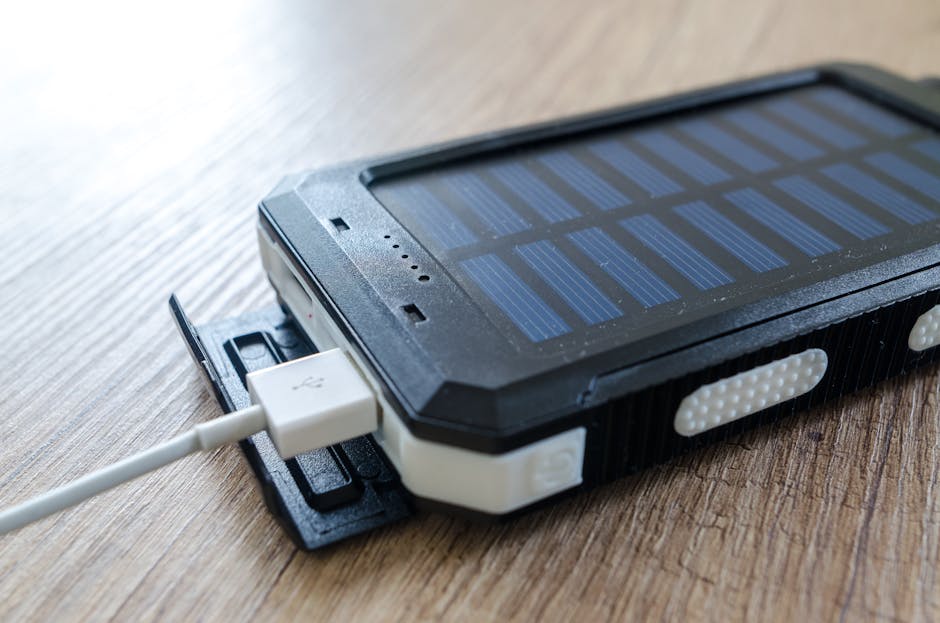
24 Volt Solar Battery Charger Kit
In today’s world, where renewable energy is becoming increasingly important, solar battery chargers are gaining popularity. A 24-volt solar battery charger kit is an excellent investment for anyone looking to harness solar energy for various applications, from powering RVs and boats to providing backup power for homes. This article will guide you through everything you need to know about 24-volt solar battery charger kits, including their components, benefits, installation, and maintenance.
Understanding Solar Battery Charger Kits
Before diving into the specifics of a 24-volt solar battery charger kit, it’s essential to understand what it is and how it works. A solar battery charger kit typically includes solar panels, a charge controller, and sometimes batteries. These components work together to convert sunlight into electricity, which can then be stored in batteries for later use.
Components of a 24 Volt Solar Battery Charger Kit
Here are the primary components you can expect to find in a 24-volt solar battery charger kit:
- Solar Panels: These are the heart of the system, converting sunlight into electricity. For a 24-volt system, you typically need two 12-volt panels connected in series.
- Charge Controller: This device regulates the voltage and current coming from the solar panels to the batteries, preventing overcharging and ensuring optimal battery health.
- Batteries: While some kits come with batteries, others may require you to purchase them separately. Deep-cycle batteries are commonly used for solar applications.
- Wiring and Connectors: Proper wiring and connectors are essential for connecting the solar panels, charge controller, and batteries safely and efficiently.
Benefits of Using a 24 Volt Solar Battery Charger Kit
Investing in a 24-volt solar battery charger kit comes with numerous advantages:
- Cost-Effective Energy: Once installed, solar energy is free. You can significantly reduce your electricity bills by using solar power.
- Environmentally Friendly: Solar energy is a clean and renewable resource, helping to reduce your carbon footprint.
- Energy Independence: With a solar battery charger kit, you can generate your own electricity, reducing reliance on the grid.
- Versatility: These kits can be used for various applications, including RVs, boats, cabins, and even home backup systems.
Choosing the Right 24 Volt Solar Battery Charger Kit
When selecting a solar battery charger kit, consider the following factors:
Power Requirements
Determine how much power you need based on your intended use. Calculate the total wattage of the devices you plan to power and choose a kit that can meet those needs.
Quality of Components
Look for kits that include high-quality solar panels and charge controllers. Research brands and read reviews to ensure you’re making a wise investment.
Installation Ease
Some kits are designed for easy DIY installation, while others may require professional help. Consider your skill level and comfort with electrical work when choosing a kit.
Installation Process
Installing a 24-volt solar battery charger kit can be a rewarding DIY project. Here’s a step-by-step guide to help you through the process:
Step 1: Gather Your Tools
Before starting, make sure you have the necessary tools:
- Drill and drill bits
- Screwdriver
- Wire cutters and strippers
- Multimeter
- Wrenches
Step 2: Choose a Location
Select a location for your solar panels that receives maximum sunlight throughout the day. Roofs or open areas with minimal shade are ideal.
Step 3: Mount the Solar Panels
Follow the manufacturer’s instructions to securely mount the solar panels. Ensure they are angled correctly to capture the most sunlight.
Step 4: Connect the Charge Controller
Install the charge controller close to the batteries. Connect the solar panels to the charge controller using the provided wiring. Make sure to follow the polarity (positive and negative) correctly.
Step 5: Connect the Batteries
Connect the batteries to the charge controller. Again, pay attention to the polarity to avoid damaging the system.
Step 6: Test the System
Once everything is connected, use a multimeter to check the voltage and ensure the system is functioning correctly. Monitor the charge controller for any error messages.
Maintenance Tips for Your Solar Battery Charger Kit
To ensure your 24-volt solar battery charger kit operates efficiently, regular maintenance is essential. Here are some tips:
- Clean the Solar Panels: Dust and debris can reduce efficiency. Clean the panels regularly with water and a soft cloth.
- Check Connections: Periodically inspect all connections for corrosion or wear. Tighten any loose connections.
- Monitor Battery Health: Keep an eye on battery voltage and capacity. Replace batteries as needed to maintain optimal performance.
- Inspect the Charge Controller: Ensure the charge controller is functioning correctly and displaying accurate readings.
Common Issues and Troubleshooting
Even with proper installation and maintenance, you may encounter some issues. Here are common problems and how to troubleshoot them:
Low Voltage Output
If your system is not producing enough voltage, check the following:
- Ensure the solar panels are clean and free from obstructions.
- Inspect all wiring for damage or loose connections.
- Verify that the charge controller is functioning correctly.
Batteries Not Charging
If your batteries are not charging, consider these steps:
- Check the charge controller settings to ensure they are appropriate for your battery type.
- Inspect the batteries for signs of damage or wear.
- Ensure the solar panels are receiving adequate sunlight.
Conclusion
A 24-volt solar battery charger kit is a fantastic way to harness solar energy for various applications. With the right components, proper installation,


